Leveraging Photogrammetry to increase data annotation efficiency
Written by
Chris Laan
automotive
June 18, 2020
For a recent project we prototyped an AR virtual shoe try-on app. Building it required a pose estimation neural network trained on images annotated with 2d keypoints corresponding to locations on feet.
Creating these labelled images typically requires someone to use a GUI to point and click on each point for every image. For simple objects this is feasible though time consuming, but for more complicated 3d objects where the keypoint locations can be occluded or hard to pinpoint exactly, this strategy can become impractical when the goal is thousands of images. We explored using Photogrammetry workflows to speed up the labelling process for our unique situation.
Final Demo
We captured mobile phone videos of shoes consisting of several orbits around someone's feet. Using off the shelf photogrammetry software, we estimate camera poses in 3d for every video frame, and construct a 3d mesh representation of the scene. We then annotate 2d foot keypoints for several frames of the video. Combining the 2d annotations and 3d camera poses allows us to estimate the 3d locations of these keypoints in the reconstructed 3d scene.
Using the camera poses, we can re-project the 3d keypoint locations back into 2d coordinates for any camera viewpoint captured in the video. If a video is 90 seconds long captured at 30 frames per second, we now have 2700 labelled frames with the same effort as labelling only 4 frames.
Photogrammetry software takes in lots of photos of the same object or scene viewed from different angles, and reconstructs a 3d model of that scene.
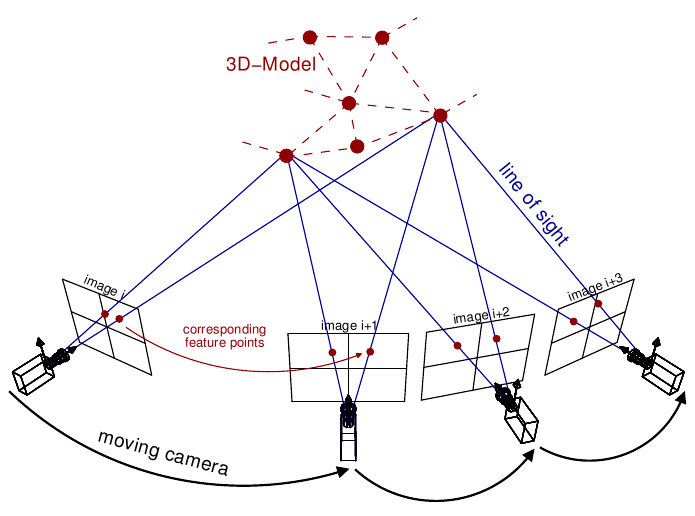
Source: Theia-sfm.org (2016)
One step during this process involves estimating a camera pose in 3d for every photo. The end result for photogrammetry is a 3d mesh, but we only need the camera poses used to create that mesh. You might also use the 3d model to render infinite viewpoints of your object, but we found the realism of a 3d rendering did not match the quality of the photos, though this is something we'd like to explore further.
There are many options for Photogrammetry software, ranging from free & open source to paid products. We chose to focus on Alicevision meshroom (free) and Reality Capture (paid) mainly due to the ease of installing and getting a result quickly. We found that Reality Capture was much faster, and generated better camera poses and reconstructions over meshroom. Meshroom has a few advantages though: it's free and open source, and it's scriptable. Reality Capture does have a command line interface, but the pricing tier is higher to use that (last we checked -- they have since moved to a pay-per-image model that may be different)
NOTE: If you are only interested in recovering the camera poses and not a 3d reconstruction, you don't necessarily need a full photogrammetry pipeline; software such as COLMAP, OpenSFM or OpenMVG could work.
Another option we tested briefly was to record videos while using ARKit to capture camera poses. This option would give us camera poses for free without any post processing. We found that the jitter and error accumulation was too much for the types of videos we were recording. If your application has a fairly static scene with lots of visual features, along with short videos, ARKit/ARCore could be an easier solution. (Also see Google's recent paper on collecting training data using this method.)
First we extract raw images from the video at a certain FPS:
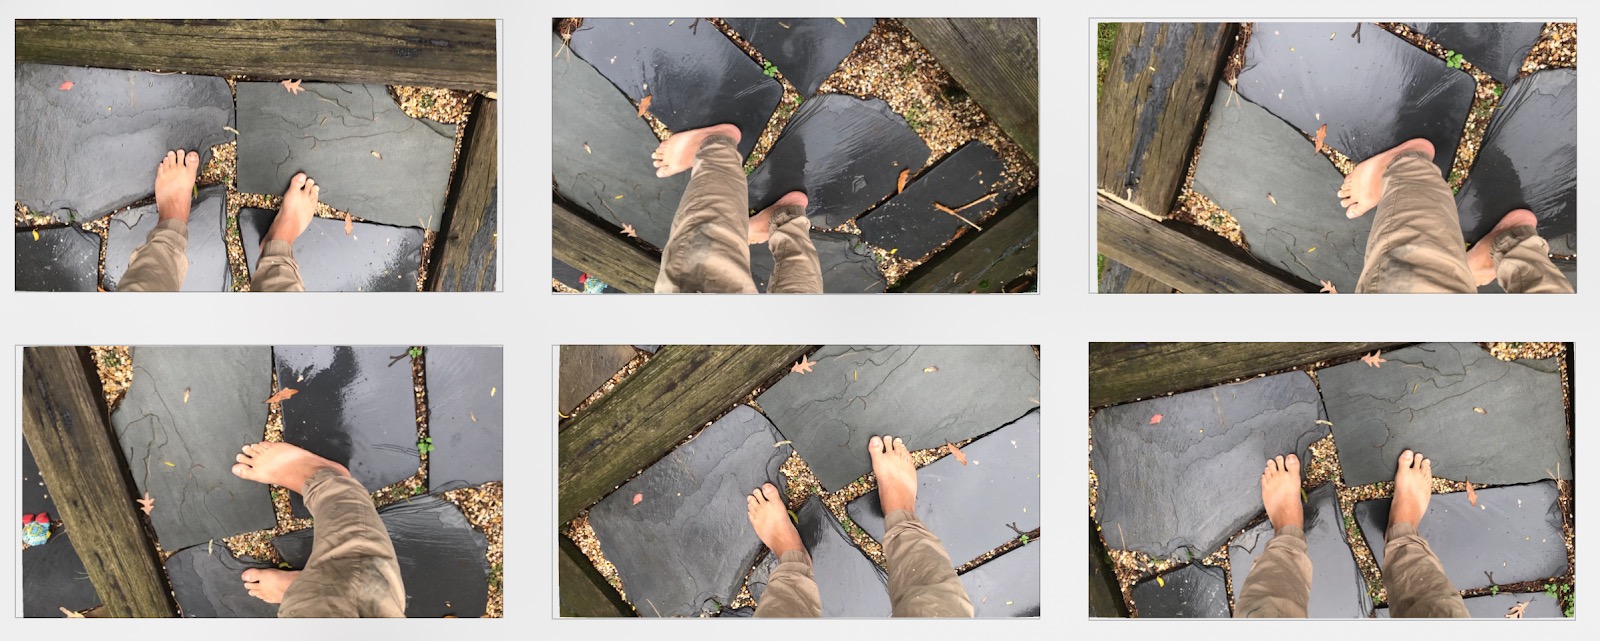
6 sample video frames from the 500 used for reconstruction
Second, we pass the extracted frames into Reality Capture; giving the following mesh and camera poses:
Camera poses along with reconstructed model
Reality Capture Reconstruction
This required a bit of effort since the CLI was not an option for us at the time. We ended up writing a windows automation script to load and process all of our video data. Reality Capture allows the exporting of camera poses in various formats.
Meshroom is fairly straightforward to use with the CLI, although we did hit a few snags. We've posted a jupyter notebook on this github repo that demonstrates processing a video into a 3d mesh, extracting camera poses, and finally re-rendering the video with the mesh overlaid all from python.
Now that we have camera poses for every frame, we need to find keypoint locations per frame. The goal here is to only label a small subset of the total frames in the video. The two methods we tested for this are 2d annotation and 3d annotation.
The output of the photogrammetry stage gives a mesh reconstruction, so one option is to use 3d modelling software to place keypoints directly on the feet in our 3d scene. Combined with the camera poses, we can project these 3d locations back into every frame of the video. We created a small blender script to assist with creating and exporting keypoints. At first this method seemed like best option for two reasons:
After some testing we found this method was fairly time consuming, and slower than the second option of 2d annotation described below. The speed likely had to do with the practicalities of getting something working quickly in blender. Not being blender power users, the speed of moving 14 small spheres in 3d took longer than clicking on a 2d image. With more time, a better UX for placing the 3d keypoints in blender might speed things up a lot. The ideal setup here would be in VR, where you are directly placing keypoints in 3d rather than using a 2d monitor.
Ultimately we went with the more boring approach of using a GUI to click on 2d image locations for each keypoint. This needs to be done for several frames throughout the video in order to triangulate the 3d positions of the keypoints.
During the annotation process, we visualize a 3d foot model using the current estimate of the 3d keypoint locations; this provides feedback on the accuracy of the current annotation. Once the foot pose looks correct across several frames, we can stop annotating.
GUI Output - 3d model overlay
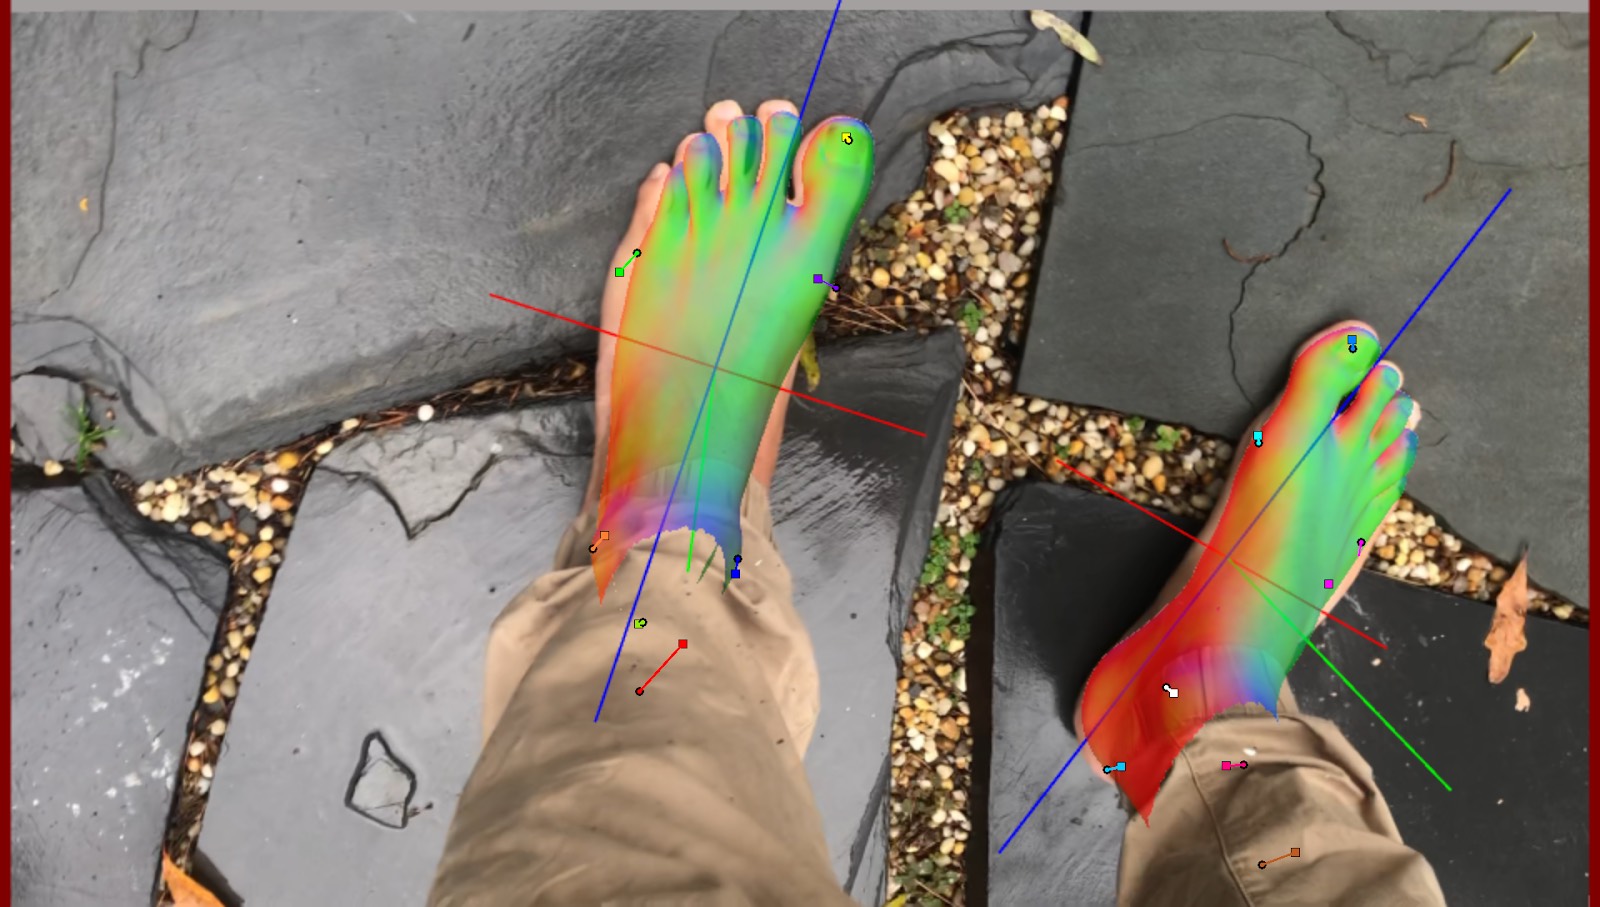
With a good estimate of the 3d keypoint locations, we use the camera intrinsic and extrinsic matrices to re-project the points into 2d image locations for every frame of the video:
3d keypoints Re-projected into 2d video frames
One way to speed up the labelling process even more would be to not have to label any frames at all. One approach we briefly explored was to use a neural network to automatically label the videos over several cycles of training + labelling the same data.
How can we train a network before having labelled data? We did this by bootstrapping with an initial low quality model trained on purely synthetic foot data (read more about that here). Even though individual per-frame 2d predictions are bad, we can combine them all together and optimize for the 3d locations using the known camera poses. The resulting 3d locations should be more accurate than the individual frame predictions since we are optimizing for the lowest re-projection error taking into account all per-frame predictions.
Once we have a labelled video, we can re-train the original network by incorporating this new labelled training data, and finally re-run the keypoint estimation using the newly trained network. So far we have only completed a single train / label / re-train cycle, but the results are promising. Even on the first cycle, it's easy to see where per-frame errors are corrected by optimizing over all frames:
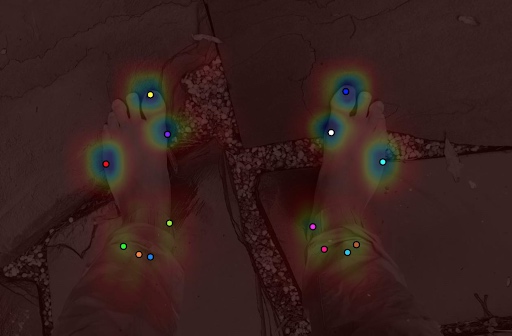
Correct Single image predictions + heatmap
In this image lines are drawn from the single frame incorrect predictions to the multi-view optimized predictions:
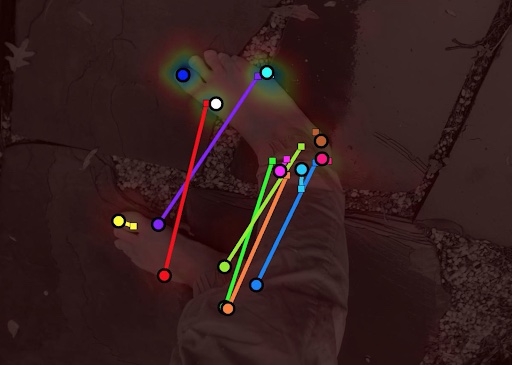
Incorrect prediction for a single frame
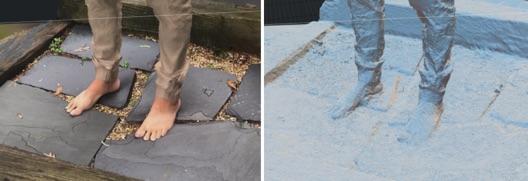
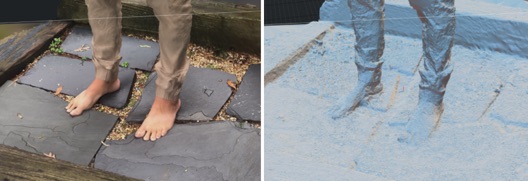
Finally, one way to leverage our data even further is with data augmentation. Along with standard augmentations (e.g. rotation, translations, scaling) we also experimented with using background removal to set random backgrounds in the images. In the interest of speed, we used the remove.bg API, but there are several open source approaches to the problem out there. The results from these tests were promising. Even though artifacts often remain in the foreground, there should still be plenty of variation for the network to learn from.
Remove.bg processed video
Videos with a more uniform background are handled much better:
Better remove.bg processed video
It should also be possible to use the 3d mesh / depth maps and temporal consistency to inform how the background is removed.
The mesh can be used to re-light images for even more variations:
Relighting images via mesh information
If you need help maximizing or generating data send us an email.
Get the markdown source for offline reading